

Blog
How to Clean and Maintain Your Body Trimmer: The Ultimate Care Guide

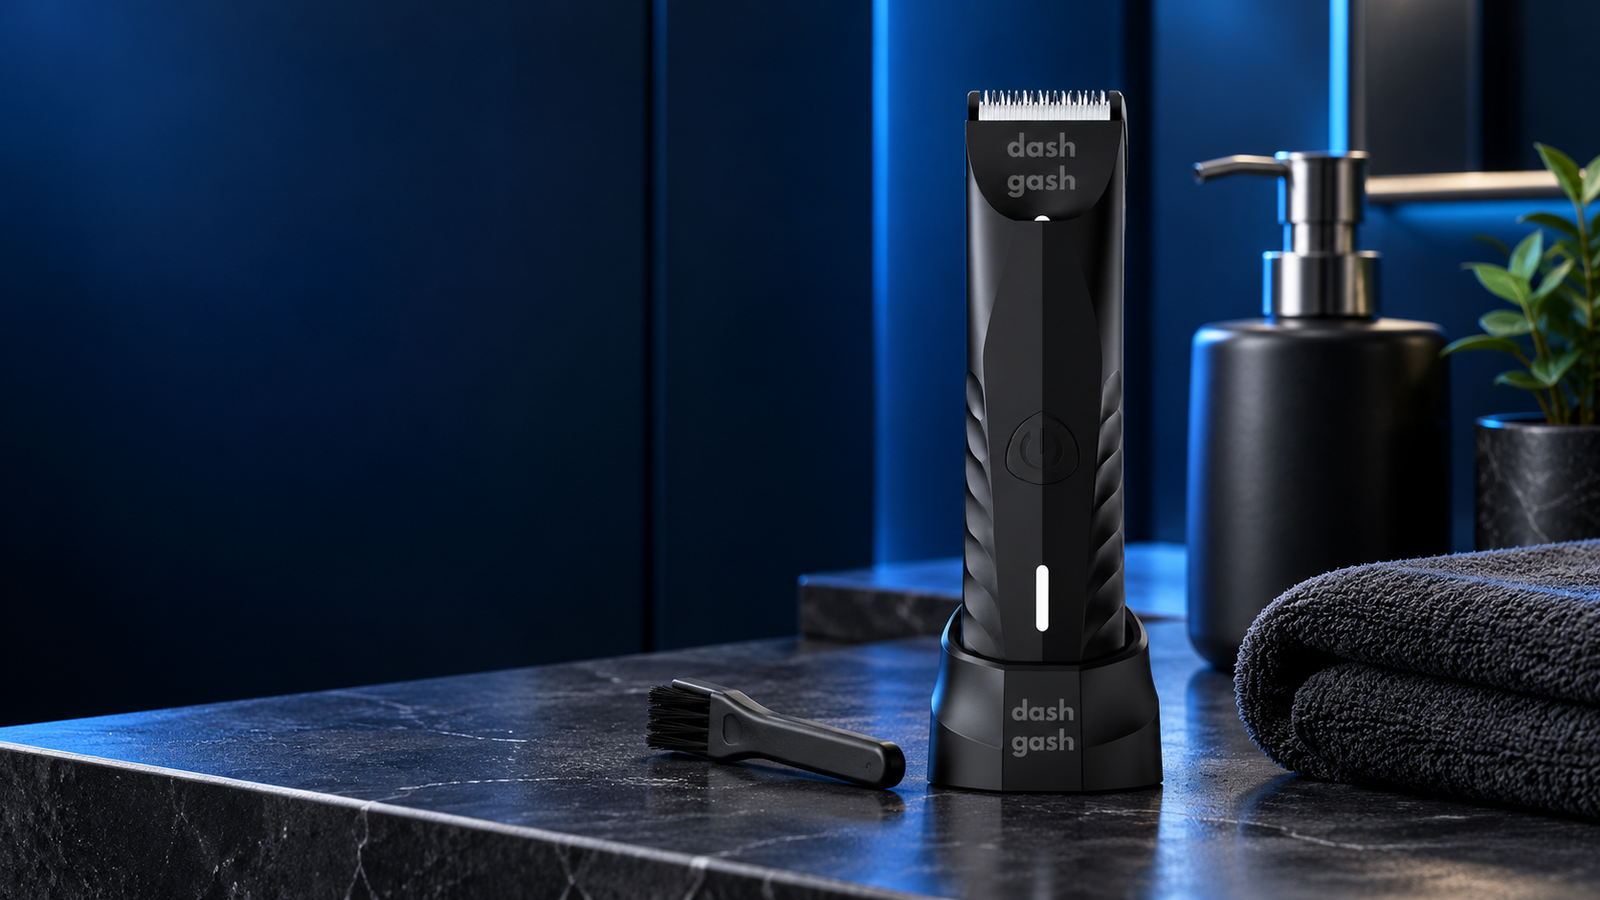
A quality grooming tool deserves a little attention. Here’s how to keep yours clean, well-maintained, and ready whenever you need it.
You’ve found your preferred grooming style. You’ve got your routine sorted. And you’ve invested in a body trimmer that makes the whole process more convenient.
Great.
But there’s one part of grooming that often gets overlooked: looking after the trimmer itself.
Just like any other personal care device, your body trimmer needs regular cleaning and proper storage.
And no, occasionally blowing the loose hair off the blades doesn’t count as a complete maintenance routine.
The good news?
Taking care of your trimmer doesn’t need to be complicated.
With a few straightforward habits, you can help keep your grooming equipment clean, functioning properly, and in good condition.
Let’s get into it.
Why Cleaning Your Body Trimmer Matters
Every time you trim, tiny hairs collect around the cutting head.
Depending on how and where you groom, your device may also come into contact with skin oils, dead skin cells, moisture, and grooming products.
Over time, buildup can interfere with normal operation and make your equipment less pleasant to use.
Regular cleaning helps you:
- Remove accumulated hair and debris.
- Maintain good personal grooming hygiene.
- Keep the cutting head free from unnecessary buildup.
- Identify worn or damaged components.
- Support the device’s performance and longevity.
Think of cleaning your trimmer as the final step of your grooming routine.
You wouldn’t put on a fresh shirt after a workout without taking care of yourself first.
Your grooming equipment deserves the same attention.
Step 1: Switch Off Your Trimmer Before Cleaning
Safety first.
Before doing any cleaning, turn your trimmer off completely.
If it’s connected to a charger, unplug it from the power source.
Never attempt to clean a powered-on cutting head or handle exposed cutting components carelessly.
Make sure the device is positioned securely on a clean, dry surface.
These small precautions make the cleaning process safer and more manageable.
Step 2: Remove Loose Hair After Every Use
The easiest way to maintain your body trimmer is to prevent hair buildup in the first place.
After each grooming session, check the cutting head and surrounding areas for trapped hairs.
Use the cleaning brush supplied with your device, if available, or another soft brush approved by the manufacturer.
Gently remove loose hairs from accessible areas.
Avoid forcing sharp objects into the cutting mechanism or scraping components with metal tools.
These actions may damage delicate parts of the cutting head.
If your device allows the cutting head to be removed for cleaning, follow the manufacturer’s instructions carefully.
Never force a component that isn’t designed to detach.
DashGash tip: Make a quick post-trim cleanup part of your routine. A little maintenance after every session is easier than dealing with accumulated buildup later.
Step 3: Check Whether Your Trimmer Can Be Rinsed
Here’s an important detail many people overlook:
Not every electric trimmer is waterproof.
Some grooming devices allow the detachable cutting head to be rinsed under running water.
Others support full-device washing.
And some are designed for dry cleaning only.
These features are not interchangeable.
Before rinsing your device, check its official product instructions.
If the cutting head is washable, follow the specified rinsing procedure and avoid introducing water into components that aren’t designed for it.
Never immerse the entire trimmer in water unless the manufacturer explicitly confirms that it is safe to do so.
And never rinse a device while it’s connected to a charger.
The safest rule is simple:
Follow your specific trimmer’s cleaning instructions, not assumptions based on how another device works.
Step 4: Let Every Component Dry Properly
Once you’ve finished cleaning, give your equipment enough time to dry.
Moisture trapped inside or around components can create unnecessary problems.
For washable parts, gently shake away excess water if the instructions permit it, then allow them to air-dry in a clean, ventilated area.
Avoid using high heat, placing components directly against a heater, or trying to speed up drying with a hairdryer unless the manufacturer specifically permits it.
Make sure all components are completely dry before reassembly or storage where required.
Pay particular attention to charging contacts and electrical connections, which should remain dry.
A clean trimmer is good.
A clean, properly dried trimmer is even better.
Step 5: Take Care of the Cutting Blades
Your trimmer’s cutting head is one of its most important components.
It’s responsible for the actual grooming, which means it deserves particular attention.
Over time, cutting components can experience normal wear.
Depending on the device, certain blades may also require periodic lubrication.
However, not every trimmer is designed for user-applied oil.
Some cutting heads have specific maintenance requirements, and others should not be disassembled or lubricated by the user.
Always check the official product instructions before applying oil or attempting blade maintenance.
If lubrication is recommended, use only the correct product and method.
Avoid household cooking oils, random lubricants, or excessive quantities.
Using the wrong substance can interfere with the cutting mechanism or damage the device.
Step 6: Store Your Trimmer the Right Way
Where you keep your grooming equipment matters more than you might think.
Bathrooms are convenient, but they can also become warm and humid.
Repeated exposure to excessive moisture isn’t ideal for many electrical devices.
Once your trimmer is clean and dry, store it somewhere protected from unnecessary moisture, dust, and accidental damage.
If your device includes a protective cover or storage case, use it according to its instructions.
Avoid leaving the cutting head exposed where it could be knocked against hard surfaces.
It’s also a good idea to keep your trimmer away from sinks where it might accidentally fall into water.
Your bathroom countertop might look great in photos.
But a secure, dry storage location is usually the more practical choice.
Step 7: Look After the Battery and Charging System
If your body trimmer is rechargeable, battery care should be part of your maintenance routine.
A few straightforward habits can help protect the device:
- Use the charging cable and power accessories specified or approved by the manufacturer.
- Keep charging connections clean and dry.
- Avoid charging near water or in unusually hot environments.
- Follow the manufacturer’s charging and storage recommendations.
- Stop using damaged charging cables or connectors.
Battery technology and charging systems vary between devices.
For that reason, avoid applying generic charging rules without checking the instructions for your specific model.
Good charging habits are about protecting both your device and your safety.
Step 8: Know When Something Needs Attention
Even with regular care, grooming equipment can eventually show signs of wear.
Watch for changes such as:
Unusual pulling or tugging
If the trimmer begins catching or pulling hair when used correctly, check for hair buildup, damage, or worn cutting components.
Inconsistent cutting
An uneven result may indicate a dirty cutting head, an incorrectly fitted attachment, or another maintenance issue.
Unexpected noises
A noticeable change in the device’s normal operating sound may warrant inspection.
Visible blade or guard damage
Never continue grooming with cracked, broken, or visibly damaged components.
Charging problems
If charging becomes unreliable, check the approved cable and connections, following the manufacturer’s troubleshooting guidance.
If a problem persists, consult the product’s support instructions rather than attempting an unsafe repair.
How Often Should You Clean Your Body Trimmer?
The ideal cleaning schedule depends on how frequently you use your device and what its manufacturer recommends.
As a practical starting point, follow this simple routine:
| When | What to do |
|---|---|
| After every use | Remove loose hair and visible debris |
| After wet use, if permitted | Clean and dry according to the product instructions |
| Periodically | Inspect blades, attachments, and charging components |
| When performance changes | Check for buildup, wear, or damage |
| Before long-term storage | Clean, dry, and store in the recommended conditions |
These habits don’t take much time, but they make maintenance feel like a natural part of grooming.
Common Body Trimmer Care Mistakes
A few mistakes are particularly easy to avoid.
Leaving hair inside the cutting head
Hair buildup can interfere with normal grooming performance. Remove loose debris regularly.
Assuming every trimmer is waterproof
Always verify the device’s water-resistance and cleaning instructions before rinsing.
Storing equipment while it’s damp
Give washed components sufficient drying time before storing them.
Using random cleaning chemicals
Harsh chemicals may damage certain materials or coatings. Stick to manufacturer-approved cleaning methods.
Ignoring visible damage
A damaged blade, guard, or electrical component isn’t something to gamble with.
Stop using the device and seek the appropriate replacement or support.
Frequently Asked Questions
Can I wash my electric body trimmer with water?
Only if the manufacturer’s instructions permit it. Some trimmers have washable cutting heads, while others support different levels of water exposure. Check your specific model before rinsing.
Should I clean my trimmer after every use?
Yes. Removing loose hair and visible debris after each grooming session is a useful basic maintenance habit. Follow the product instructions for any additional cleaning.
Can I use alcohol to disinfect my trimmer?
Only if the manufacturer identifies an appropriate alcohol-based cleaning method. Some chemicals can damage plastics, coatings, seals, or electrical components.
Do all trimmers need blade oil?
No. Blade maintenance requirements differ between models. Never apply lubricants unless the manufacturer’s instructions recommend them.
When should I replace my trimmer blades?
There is no universal replacement schedule. Follow the manufacturer’s guidance and pay attention to visible wear, damage, or declining cutting performance.
A Better Grooming Routine Includes Better Product Care
A body trimmer is more than just another gadget in your bathroom.
It’s part of your everyday grooming routine.
And keeping it clean and properly maintained is one of the simplest ways to take care of the equipment you rely on.
You don’t need a complicated maintenance schedule.
You just need good habits, the right cleaning methods, and a little attention after every use.
At DashGash, we believe taking care of yourself should be straightforward.
That includes taking care of your grooming tools.
Groom confidently. Clean regularly. Keep it simple.
Explore the DashGash Trimmer V2 and build a grooming routine that works for you.
DashGash — Grooming Without the Guesswork.


